A Practical Guide to Troubleshooting Centrifugal Pump Cavitation
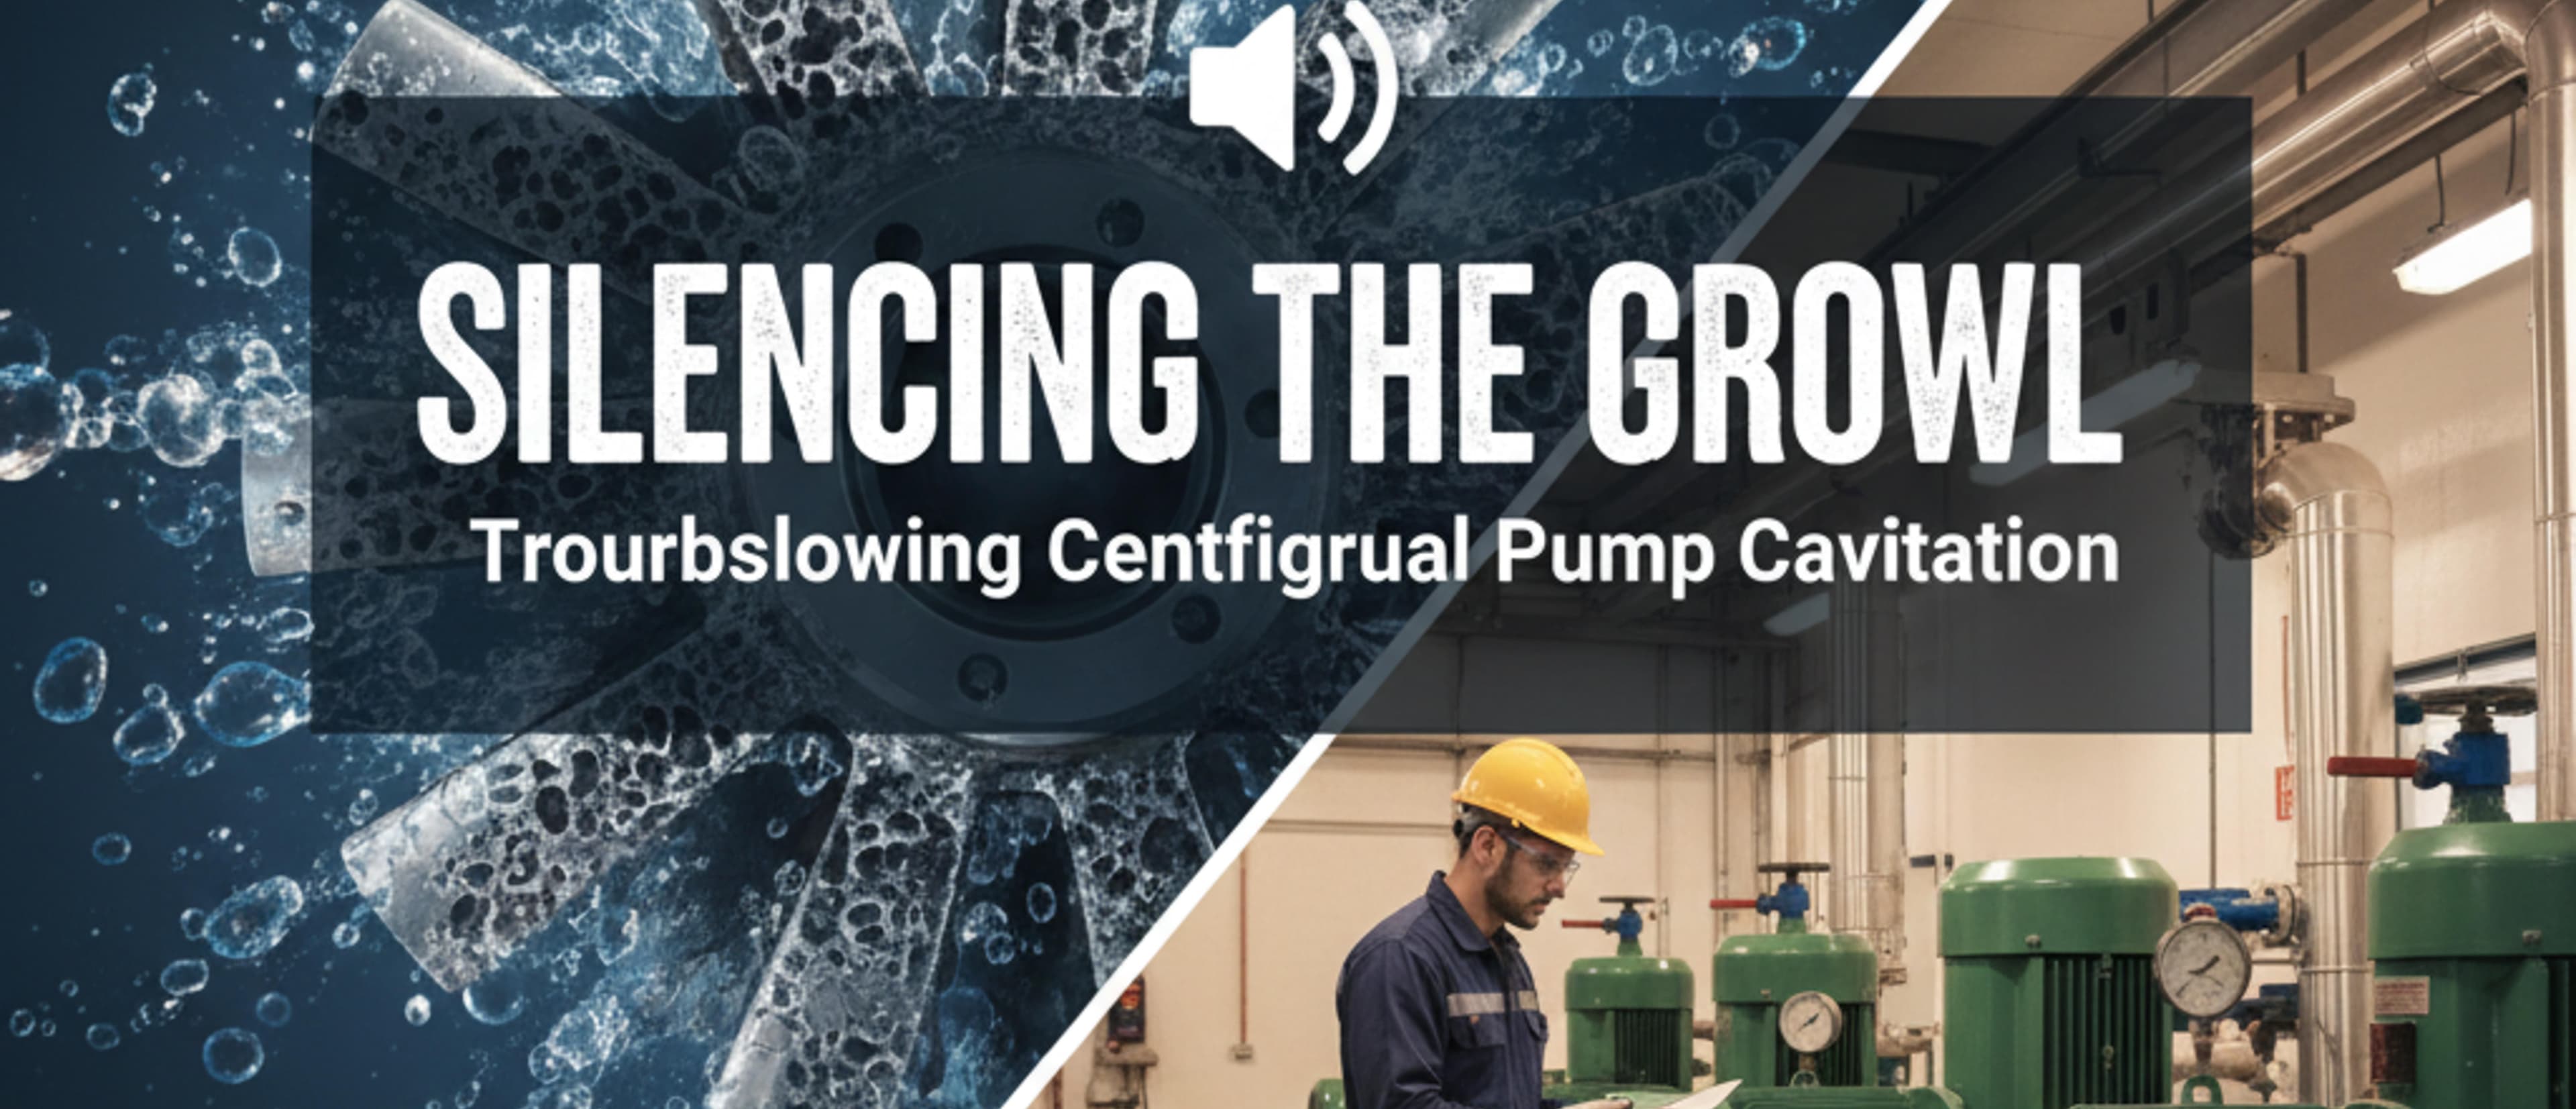
A Practical Guide to Troubleshooting Centrifugal Pump Cavitation
Walk into any industrial plant room, and you know the sound. It’s that distinct, unsettling noise coming from a centrifugal pump-like it’s pumping marbles, gravel, or rocks instead of liquid. The pump vibrates, the discharge pressure fluctuates, and the flow rate drops.
This is cavitation, one of the most common and destructive enemies of rotating equipment.
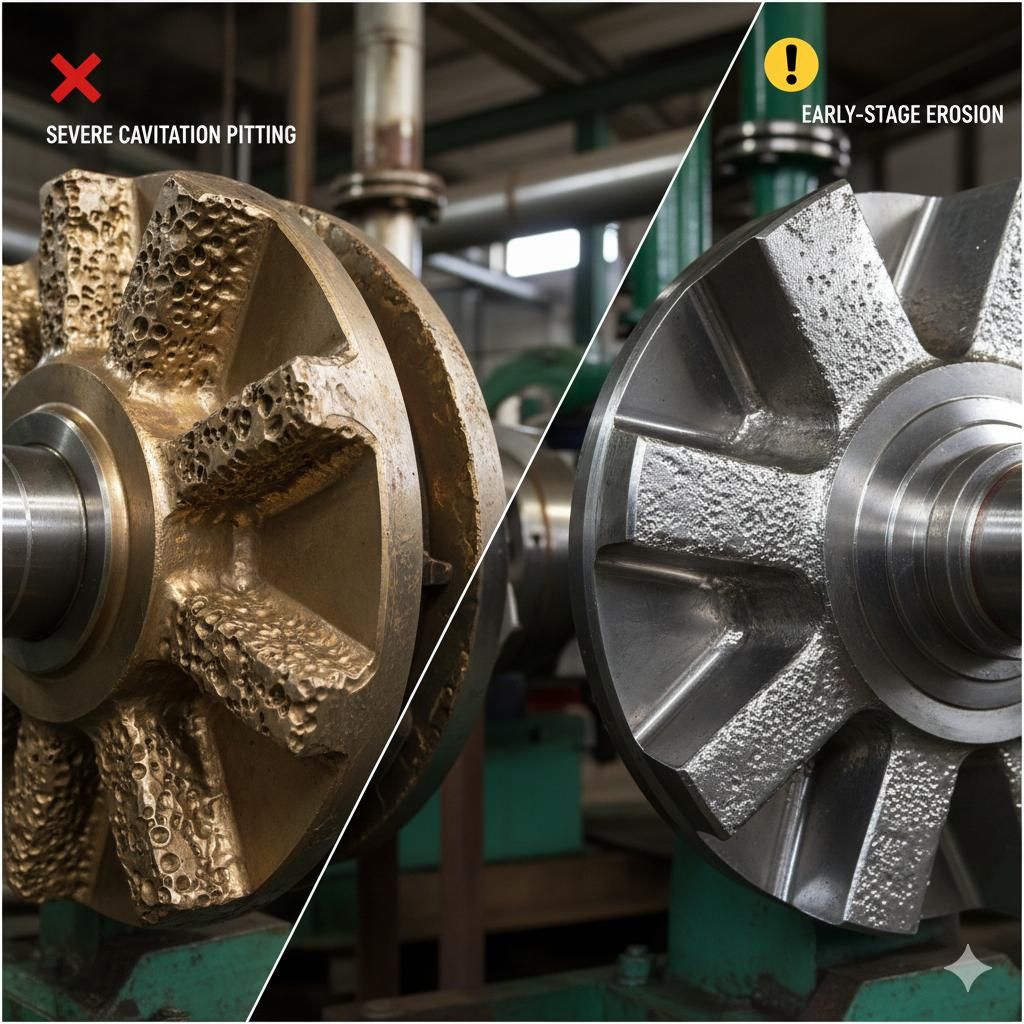
Cavitation is not just a noise nuisance; it is a rapid destroyer of machinery. It can pit solid metal impellers until they look like Swiss cheese, shatter mechanical seals, and ruin bearings through excessive vibration. For maintenance teams and operators, accurately diagnosing and resolving cavitation is critical to maintaining process uptime and avoiding costly failures.
This article breaks down:
- The mechanics of cavitation
- The main types of cavitation with real-world scenarios
- A troubleshooting checklist
- Practical solutions you can apply in the field
The Mechanics: Why Cavitation Happens
To fix cavitation, you must understand its origin. It is not simply “air in the pump.” True cavitation occurs when the liquid being pumped locally boils (vaporises) and then violently collapses back into liquid.
1. The Pressure Drop at the Impeller Eye
As liquid enters the eye of a centrifugal impeller, its velocity increases rapidly. According to Bernoulli’s principle, as velocity increases, static pressure drops.
In simplified form (between suction surface 0 and impeller eye ):
If the local pressure at the impeller eye drops below the liquid’s vapor pressure at that temperature, the liquid flashes into vapor bubbles.
2. The Violent Collapse
These vapor bubbles are carried along the impeller vanes into regions of higher pressure near the impeller outlet. Suddenly surrounded by higher pressure, the bubbles implode.
The bubble collapse creates:
- Local microjets of liquid
- Shock waves impacting metal surfaces at extremely high local velocity
Over time, these repeated impacts cause:
- Erosion and pitting of the impeller
- Increased vibration
- Loss of hydraulic efficiency
NPSH: The Core Equation Behind Cavitation
In engineering terms, cavitation is a Net Positive Suction Head (NPSH) problem.
We have:
- NPSH_A - Net Positive Suction Head Available from the system
- NPSH_R - Net Positive Suction Head Required by the pump design (from the manufacturer’s curve)
1. Formal Definition of NPSH_A
At the pump suction nozzle (point ):
Using Bernoulli from the free surface (0) to pump suction (i), a common practical form is:
Where:
- = surface pressure (often atmospheric)
- = vapor pressure of liquid at operating temperature
- = elevations of liquid surface and pump centreline
- = suction line friction losses
2. NPSH_R (from Pump Curve)
NPSH_R is specified by the pump manufacturer, usually at the point where head has dropped by 3% due to cavitation.
3. The Golden Rule
Cavitation occurs when:
Safe operation requires:
A typical design margin is 0.5-1.0 m (or more) above NPSH_R for critical services.

Types of Pump Cavitation - Recognising the Patterns
Troubleshooting fails when operators treat all pump noise the same. There are three main phenomena that sound similar but have different causes and fixes.
Overview Table - Cavitation & Look-Alikes
| Type | Where It’s Loudest | Typical Cause | NPSH Involved? |
|---|---|---|---|
| Suction cavitation | Suction / impeller eye | NPSH_A too low (high temp, high losses) | Yes |
| Discharge cavitation | Discharge / volute | Pump forced to low-flow at high head | Indirect |
| Air aspiration (entrained) | Varies | External air leaks / vortex from tank | No (not vapor) |
1. Classic Suction Cavitation (Starvation)
This is the most common and textbook form of cavitation.
Mechanism: Suction pressure is too low, or vapor pressure is too high → NPSH_A falls below NPSH_R.
Symptoms:
- Classic “pumping rocks” sound, loudest near suction and casing close to impeller eye
- Low and unstable discharge pressure
- Reduced flow, occasional loss of prime
- Impeller damage focused near the eye and leading edges
Real-World Scenario:
A cooling tower pump runs smoothly in winter. In summer, when cooling water temperature rises from ~21 °C (70 °F) to ~43 °C (110 °F), the pump begins to rattle.
- Hotter water → higher vapor pressure
- Therefore, NPSH_A drops (since term increases) even though suction pressure is unchanged
- The pump crosses the line where → cavitation starts
2. Discharge Cavitation (Internal Recirculation)
This is more subtle and counterintuitive. It happens when the pump is forced to operate too far left of its Best Efficiency Point (BEP) at very low flow.
Mechanism:
- Discharge valve is highly throttled → system head is high
- Pump operates at low flow → internal recirculation in the casing and between impeller and volute
- Local high velocities + low pressures at recirculation zones → cavitation pockets
Symptoms:
- Cavitation-like noise, often higher-pitched
- Loudest near the discharge side / volute cutwater
- Occurs when discharge valve is nearly closed
- Impeller damage often at the vane tips and volute cutwater
Real-World Scenario:
A plant needs only 200 GPM, but installs a spare pump sized for 1000 GPM.
To control flow, the operator throttles the discharge valve nearly closed. The pump screams all day.
- The pump is operating far left on its curve → strong recirculation zones → discharge cavitation.
3. The Imposter: Air Aspiration (Entrainment)
This sounds similar but is not NPSH-driven cavitation. It’s caused by external air entering the suction.
Mechanism:
- Air enters through a loose gasket, packing, or a suction vortex
- Pump handles a two-phase mixture (liquid + air bubbles)
- Performance degrades; the pump can lose prime
Symptoms:
- Noise is more irregular and “spitty” than true cavitation
- Visible bubbles or foam at discharge
- Fluctuating discharge pressure and flow
- Pump may repeatedly prime/deprime
Real-World Scenario:
A pump drawing from an open tank is quiet until tank level drops below ~1 m above suction nozzle. Then, noise and vibration begin.
- Low liquid level → vortex formation at suction entry
- Vortex pulls air into suction line → air aspiration
Troubleshooting Checklist - Stepwise Diagnosis
When a pump begins to growl, use this systematic approach instead of guessing.
Step 1 - Gather Process Data
Before touching anything:
- Flow rate vs design (from flow meter or pump curve + differential head)
- Suction pressure (gauge or transmitter)
- Discharge pressure
- Liquid temperature (for vapor pressure and NPSH_A)
- Tank level and static head
From these, you can estimate NPSH_A:
Step 2 - Listen and Localise
Use a mechanic’s stethoscope or even a long screwdriver against the casing.
- Noise strongest at suction / impeller eye → likely suction cavitation
- Noise strongest at discharge / volute → likely discharge recirculation
Step 3 - The Valve Test
Carefully perform this test (small changes, slow movements):
- Slowly throttle the discharge valve a little more:
- If the noise gets worse, you are likely forcing the pump further into low-flow recirculation → discharge cavitation.
- Slowly open the discharge valve from a throttled position:
- If the noise gets better, you may be moving away from recirculation.
- In suspected suction cavitation, slightly throttling discharge may reduce flow and therefore reduce NPSH_R, sometimes temporarily improving NPSH margin.
⚠️ Always stay within safe operating limits for pressure, motor load, and minimum flow.
Step 4 - Inspect the Suction Side
- Check suction strainers - partial blockage is the #1 cause of sudden suction cavitation
- Inspect suction piping for:
- Collapsed liners
- Closed / partially closed valves
- Too many elbows near the pump
- Check flange gaskets and fittings on suction side for air leaks (especially under suction lift)
Summary Table - Symptom vs Likely Cause
| Observation | Likely Issue |
|---|---|
| Loud “gravel” sound at suction | Suction cavitation |
| Loudest noise at discharge / volute | Discharge recirculation |
| Noise appears only at low tank level | Suction vortex / air |
| Bubbles/foam in discharge | Air aspiration / entrainment |
| Noise worse when discharge throttled | Discharge cavitation |
| Noise reduced when flow reduced slightly | Suction cavitation |
Real-World Solutions
Once you’ve diagnosed the type of phenomenon, apply targeted solutions.
A. Fixing Suction Cavitation - Increasing NPSH_A
Goal: Increase suction pressure and/or reduce vapor pressure.
-
Clean / Up-size Strainers and Filters
- Reduce friction losses in the suction line.
-
Raise the Source Level
- Increasing liquid level in the supply tank increases static head:
-
Lower the Pump Elevation
- Physically move pump closer to or below tank bottom where feasible.
-
Reduce Liquid Temperature
- Cooler liquid → lower vapor pressure → higher NPSH_A.
-
Increase Suction Pipe Diameter / Improve Layout
- Bigger pipe → lower velocity → lower friction losses.
- Avoid elbows right at the pump suction; provide straight runs.
B. Fixing Discharge Cavitation - Reducing Recirculation
Goal: Move operating point closer to BEP with a healthy flow.
-
Open the Discharge Valve (if Process Allows)
- Let the pump move right on its curve to a flow where internal recirculation is reduced.
-
Install a Minimum Flow Recycle Line
- From discharge back to supply tank (not to suction nozzle).
- Ensures pump never operates below a set minimum flow even if process demand is low.
-
Impeller Trimming or Re-rating
- If the pump is permanently oversized, trimming the impeller reduces head and shifts the curve to better match system requirements.
-
Right-Size the Pump in Long Term
- For chronic low-flow operation, consider replacing with a smaller pump or using parallel operation with staged duty/standby.
C. Fixing Air Aspiration and Vortex Problems
-
Add Vortex Breakers or Baffles
- Simple cross plates or perforated plates above suction bells in open tanks.
-
Maintain Minimum Submergence
- Follow manufacturer guidelines for minimum liquid level above suction centreline to avoid vortexing and air drawdown.
-
Seal the Suction Line
- Tighten or replace gaskets and packing.
- Check mechanical seal faces and any threaded connections.
-
Avoid High Points on Suction Piping
- High points can accumulate air; redesign to avoid trapped gas pockets.
Conclusion
Cavitation is rarely a “bad pump” problem. It is almost always a system mismatch problem:
- Temperature too high
- Suction losses too large
- Pump oversized and forced into low-flow recirculation
- Poor tank or suction piping design drawing in air
By moving beyond “the pump is noisy” and instead classifying the type of cavitation based on:
- Where the sound is strongest
- How the noise responds to valve changes
- What the pressures, temperatures, and flows are doing
…you can implement permanent, root-cause solutions instead of repeatedly changing impellers and seals.
Silencing the growl is not just about comfort. It’s about:
- Improved reliability
- Lower maintenance cost
- Higher pump efficiency and process uptime
And that’s exactly what good troubleshooting is supposed to deliver.